In this article I will explain the concept of bump mapping, with both a practical and technical explanation. I’ll also compare this technique with displacement maps and normal maps.
What Is Bump Mapping?
Bump mapping is a technique used in computer graphics to generate the appearance of bumps and other such textures on an object. It is actually a faked effect because the technique does not change the actual model, only the way the light is calculated to reflect off the object. For example, you can have a bump map that contains some text, and this will make the model appear as if there is text imprinted on it.
One of the largest limitations when you’re using this technique is that the shadow of the object won’t change, since the actual geometry stays the same. This means that a bump map is best suited to adding more detail to a model. A displacement map, on the other hand, can use the same texture to change the actual geometry.
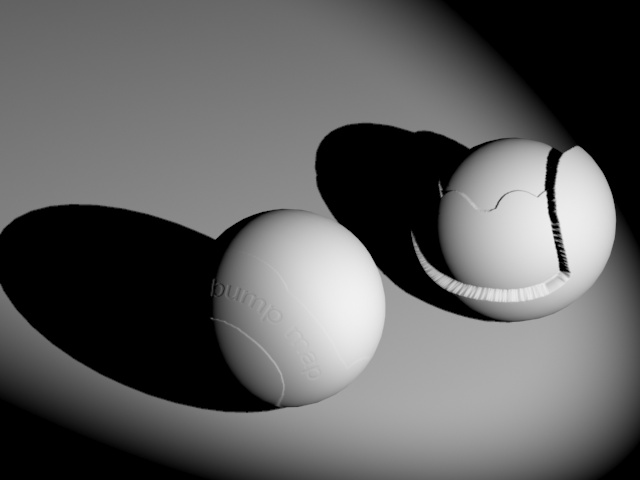
Here’s an example of the two techniques:

The left sphere uses a bump map; the right one uses a displacement map.
What Is a Bump Map?
A bump map is represented by a greyscale texture, or a height map as it is called, which can be included in a material (just as other types of maps: diffuse map, normal map, specular map and so on).
A bump map can be created using any photo editing software you want (I use Photoshop) that has a brush in it or is able to generate noise maps. For example, if you’re using Photoshop you can make a new file and draw on it with a greyscale brush – the darker you paint, the more effect it’ll have on your texture – and then save it as a JPEG.
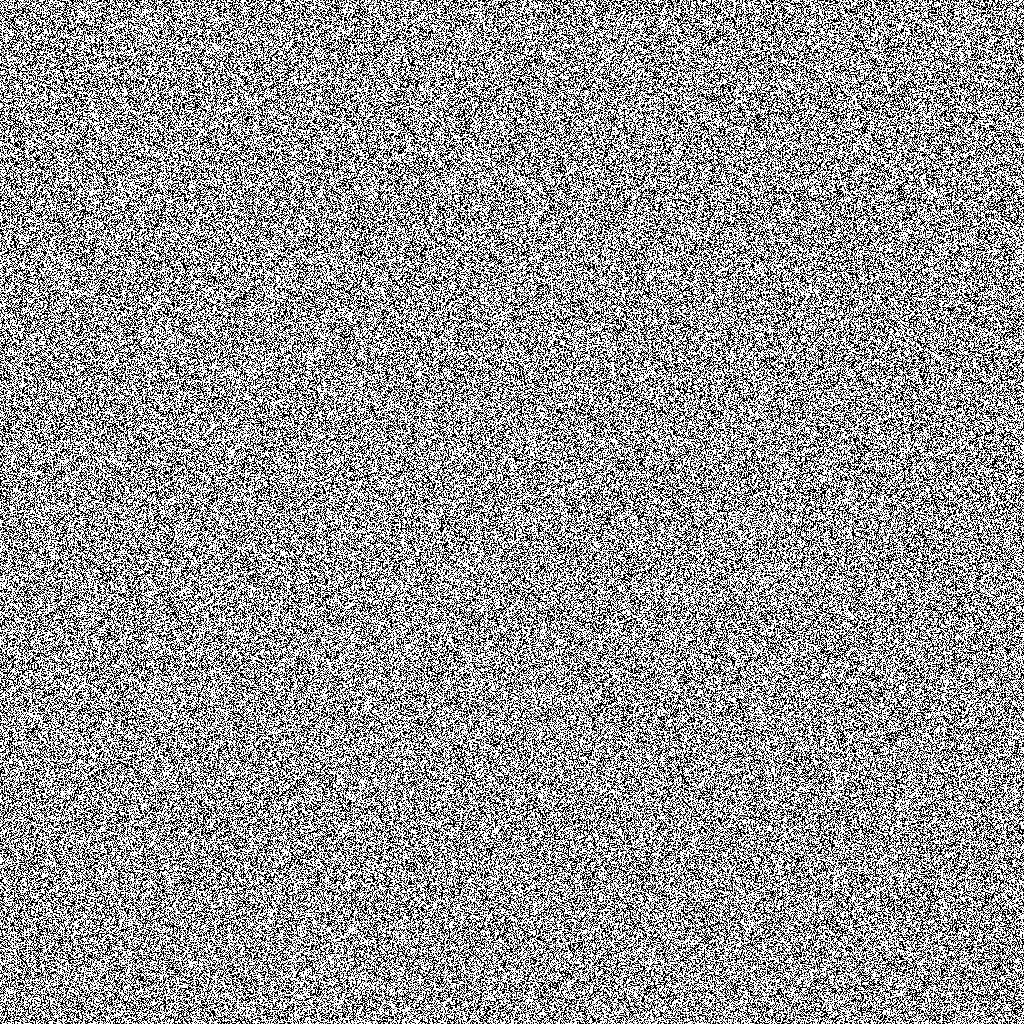
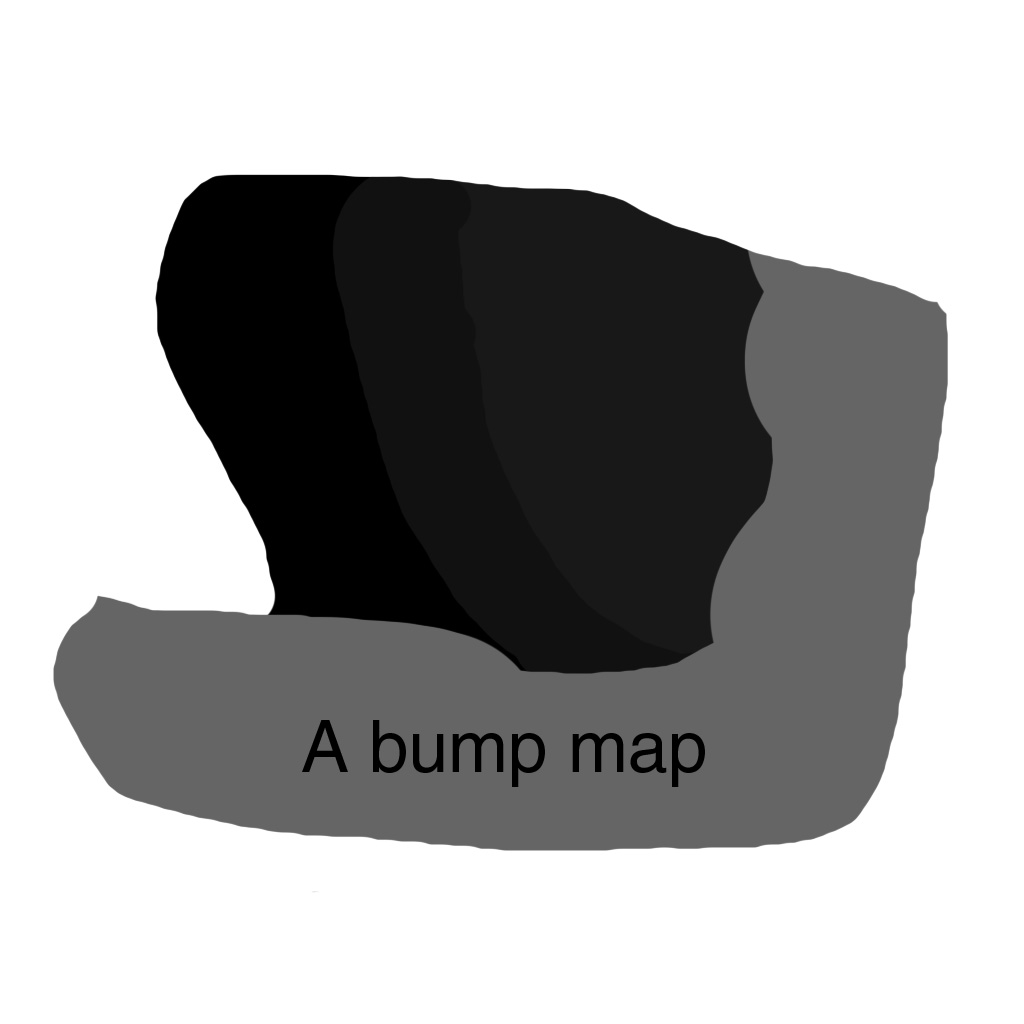
Here are two examples of bump map textures:

Noise bump map

Photoshop bump map
You might be wondering what the difference is between this and normal mapping. The two techniques are similar; normal mapping is actually derived from bump mapping but it uses another algorithm to calculate the lighting on the model. Today normal mapping is the most common method used, especially in games, but is a bit harder to make this kind of map.
Technical
The way this map influences the calculation of the lighting is pretty simple. Every vertex on a model has its own normal vector (essentially a line pointing directly outwards from the vertex), so when you’ve made something and you render it without any maps these are the normals used to calculate the shadows on your object.
When you add a bump map, though, the renderer you’re using will calculate the normal of the vertices modified by the vertices of the bump map and project the light rays (when light is emitted it projects multiple rays). There will be different shadows because the normals have changed.
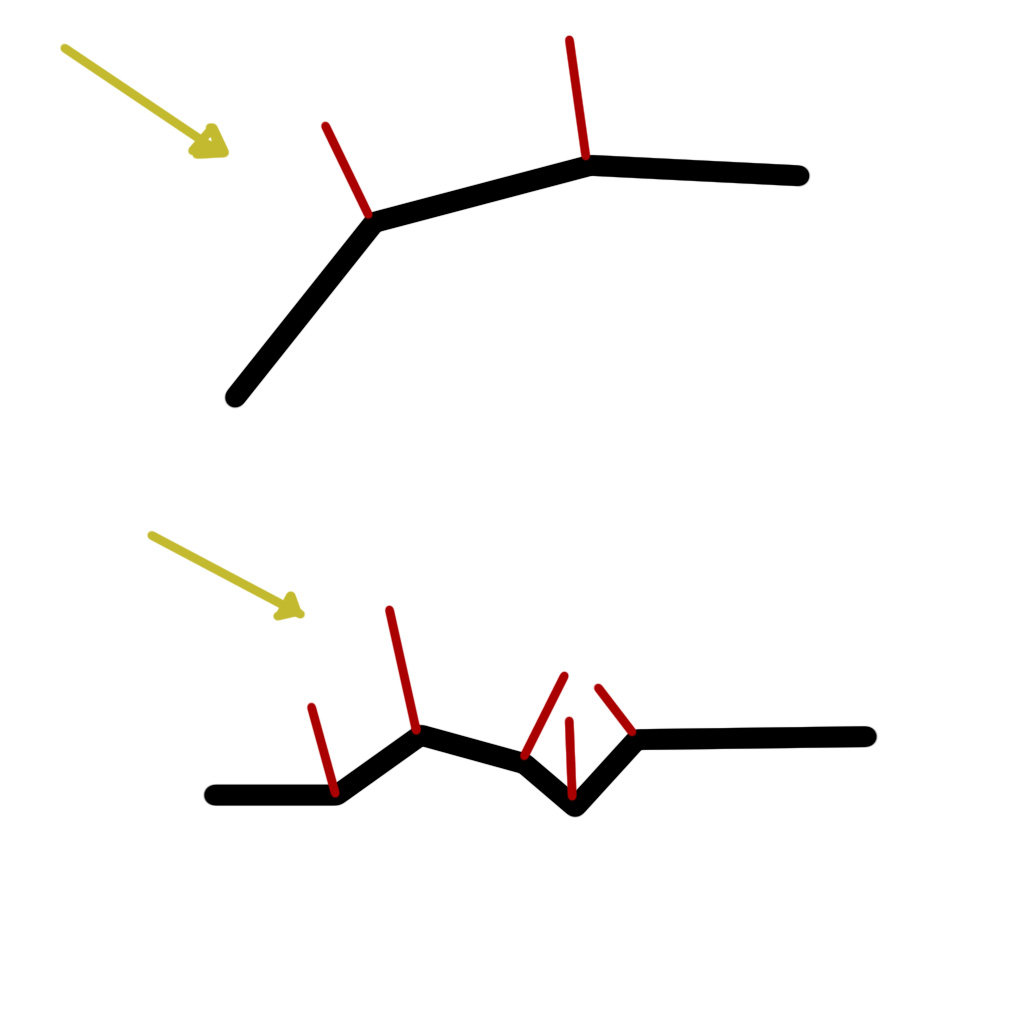
So here’s a picture to explain this calculation:

Lighting calculation
The first image shows two vertices (corners), each with a normal (the red lines). The black lines represent the mesh of the object. When the light ray (the yellow line) hits the mesh it will bounce off in a certain angle calculated with the normal.
If I added the bump map with the mesh I made to the model (as in the lower image), the light that bounces off will be changed based on the combination of the two normal maps, so the render would look more detailed.
I hope you now feel you have a better understanding of bump mapping! If you have any questions, please post them in the comment section and I’ll try to answer them.