In this series, we're focusing on the bone-based 2D animation tools provided by the Unity engine. The main idea is to present and teach the fundamentals of 2D animation in order for you to apply it to your own games. In this tutorial, we'll add the idle, jump, and fall animations.
Before we start the tutorial, we would like to thank Chenguang (DragonBonesTeam) for providing us with the game art used to produce this tutorial series.
Where We Left Off
In the previous tutorial, we imported a 2D sprite representing the game character, sliced it with the Unity Sprite Editor, and constructed the base of the character. If you haven't completed the previous tutorial we strongly recommend that you do so, since you are going to need the 2D character in order to follow this tutorial.
Final Preview
This demo shows the animated dragon we're aiming for—hit Space to make it jump:
General Animation Theory
There are several important concepts that you need to keep in mind while animating. For the purpose of this tutorial, we will assume that you have no experience with animation (2D or 3D), and that you've never worked with animation software before.
Animation, as we know it, has evolved from paint to digital. There are dozens of hybrid animation techniques, but all of those share the same base principles, like lip-syncing, squash or walking cycles.
In order to understand animation, you must first learn the concept of a frame. A frame is one of many still images that compose an animation. If you pause a cartoon, the image that your TV shows would be of a single frame.
The main difference between traditional animation and computer animation lies in the tools used. Traditional animation is a very hands-on process, where the artists would have to draw or compose thousands of individual frames. Computer animation removes the need for many tools and, generally, simplifies the whole process.
For example, whereas with traditional animation the artist would have to draw almost every single frame of an animation, with computer animation the artist can use what we call key frame points. These key frame points, as the name specifies, are key stages of the animation. Basically, the artist creates those key frame points, and the computer interpolates between them to create the missing frames. As you can imagine, this type of process is much less labor-intensive.
You can define a key frame as a single still image in an animated sequence that takes place at an important point in that sequence. A good example would be in an animation of rock falling: the original position of the rock in the air would be a key frame, and the end position of the rock on the ground would be another. The computer would then generate all the other frames. We call the frames between key frames tweened frames, and they are the responsible for creating the illusion of motion.
The frame can also be used as a unit of time. For example, you can say that an animation lasts 20 frames. The real duration of any animation depends of the frame rate, which can vary with the format of the animation. In North America and Japan the standard is 30 frames per second (fps), while across the rest of the world the standard is usually 25 fps.
Animations
Since you now know the basics of animation and computer animation specifically, let's now return to Unity to start animating our character.
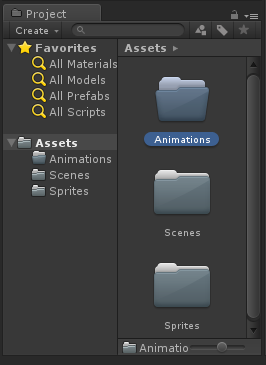
The first step is to create a folder in the Assets directory called animations, in which you will save your characters' animations.
Next, open the Animation panel in Unity (Window > Animation):
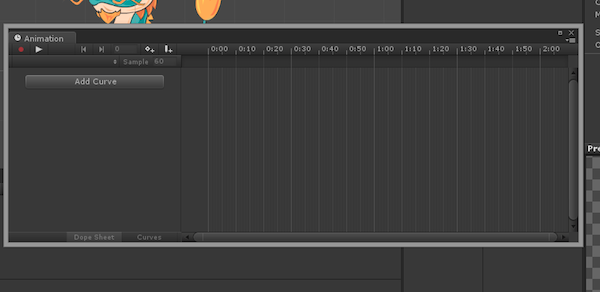
As you can see, the panel contains a horizontal time line, a record button, a play button, and a couple of buttons for navigating through the frames.
Grab the Animation window and dock it next to the Console tab (note that you are using the 2D layout created in the Unity 2D Arkanoid tutorial). This way, you can work on your scene with the animation panel still open.
Idle Animation
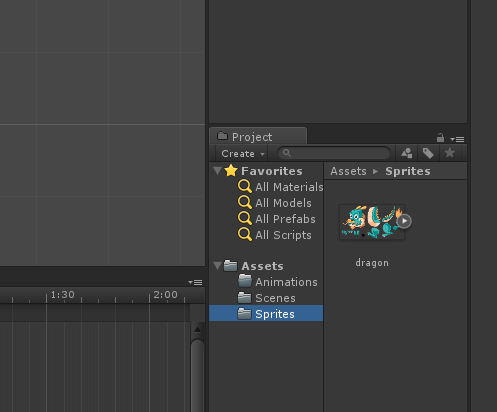
You will create three different animations for the dragon: an idle animation, a jump animation, and a fall animation.
To create the first animation, select the Dragon game object and click Add Curve on the Animation panel. A new window will ask you to name the animation file and the destination folder to save it in. Unity animation files have .anim extension, and you will save them in the Animations folder you created earlier. Create the Idle.anim file.
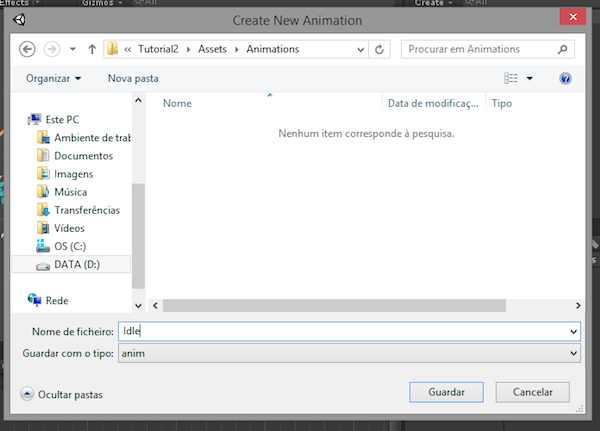
As you may notice, once you save the file, several things change in the editor layout:
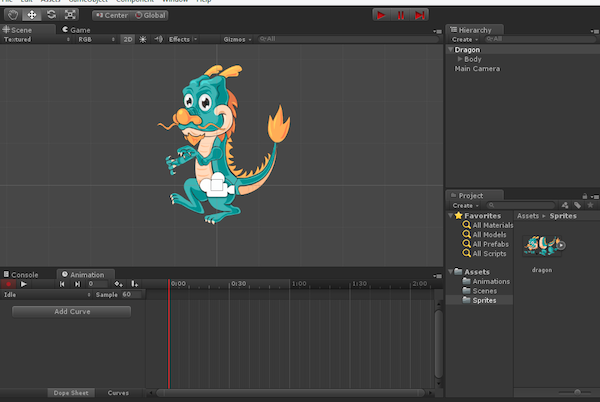
If you take a look at the play buttons at the top of your scene, you will notice that they have become red. In the Animation panel the record button is now red too, and you'll see a red line across the timeline. This means you are in record mode. Also, if you look at the Inspector, you will see that Unity has automatically added a new component to your game object: the Animator.
The Animator component is a reference to an Animator Controller that is used to set up behavior on a character. This includes a setup for State Machines, Blend Trees and events that can be controlled by script. Basically, the Animator is the link between the character and its behaviour.
We will cover the Animator component with more depth later; for now, let's just focus on the animation. In your Dragon game object, select the Head:
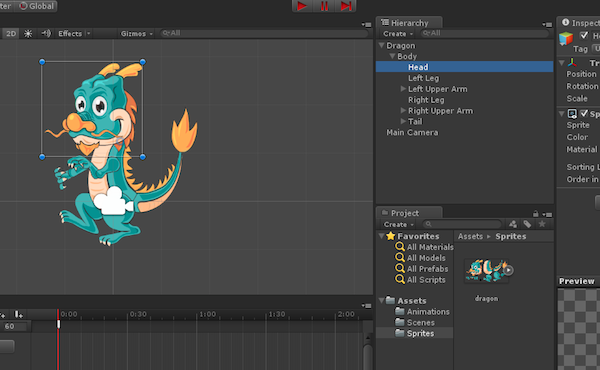
On the Animation time-line, drag the red line to 1:00 (one minute in).

Now, on the Inspector, set the Z Rotation to 7.9. As you may notice, you now have some small shapes on your timeline. These marks indicate the key frames of the animation.
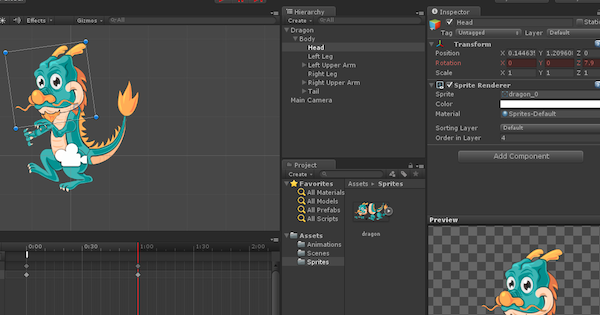
Move the red line to 2:00 and set the Z Rotation of the head to 0.
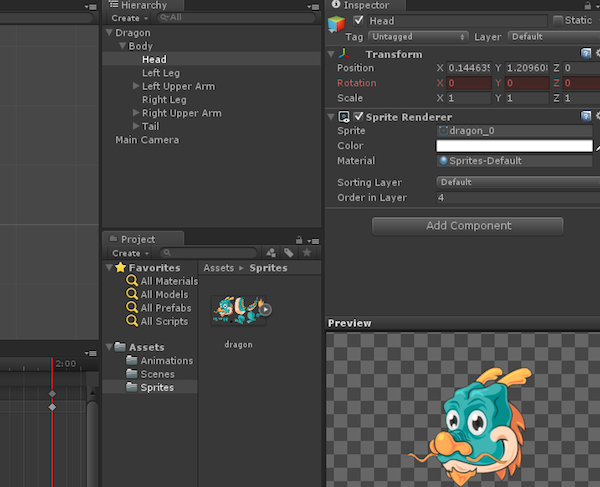
Press the record button again to deactivate the record mode. You can now press the play button to test your animation. If everything worked, the head of your dragon should be bobbing up and down.
Adjusting the Animation
The dragon head seems to be rotating a bit too much. Since we just want a little nod, we need to edit the animation.
Turn the record mode on again by pressing the button, and move the red line to 1:00 minute. Alter the Z Rotation value to 2.05.
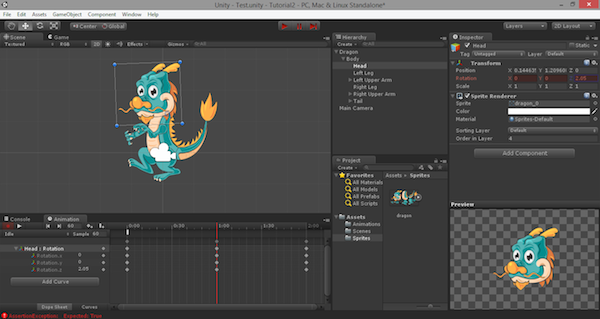
Press the record button to exit record mode and test the animation again.
As you can see, to edit an animation, you just need to select the desired key frame and change it. If you need to change the timing of an animation—for example if the animation is too fast or too slow—you can drag the mark in the timeline to the desired frame.
Okay, now you have the head animated, but you want to animate the entire body. Since you built your character as a hierarchy instead of isolated game objects, you don't need to create a single animation for each part of the body; instead, just hit the button marked Add Curve and select a different body part. Click the button and select the dragon's tail.
Try to make the tail go up and down. Just like you did before, use the Z Rotation axis and the timeline between zero and two minutes.
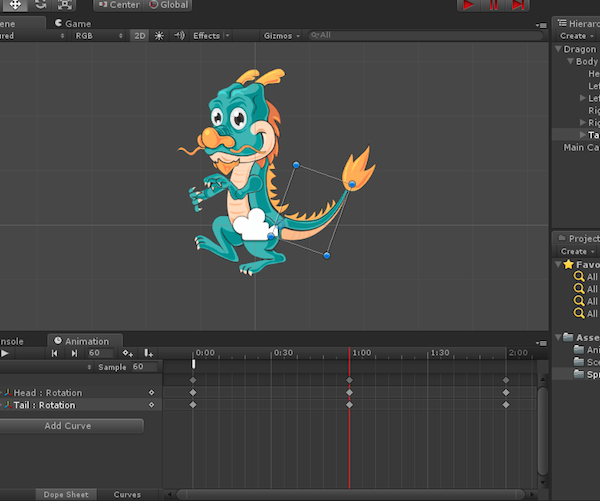
Thanks to the hierarchy you created, when you move the tail the engine automatically moves the tip as well. However, you can also animate the tip individually if you select it.
Great! Now animate the rest of the body parts for the idle animation. Take the time you need to edit the animation until you are completely satisfied. Animation takes time and you never get the results you want on the first try. By the end, your timeline should look similar to this:
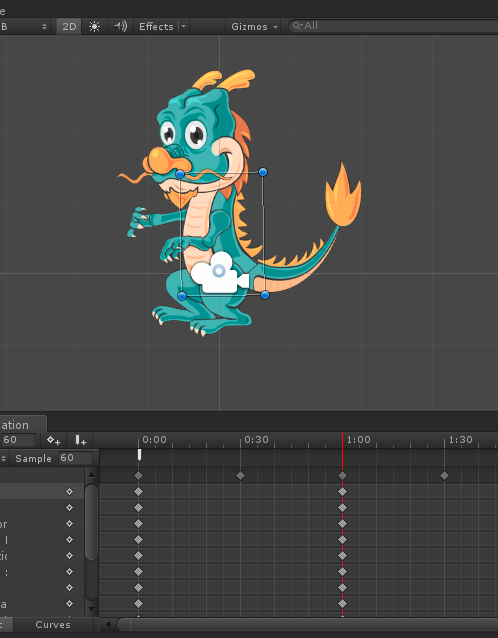
Note that, for the Idle animation, you don't change any values of the dragon's centre of mass (the black dot).
The Jump Animation
For the Jump animation, you will need to create a new animation file. To do that, in the Animation panel, click on the label that says Idle and select Create New Clip.

Name it Jump.anim and save it in the Animations folder.
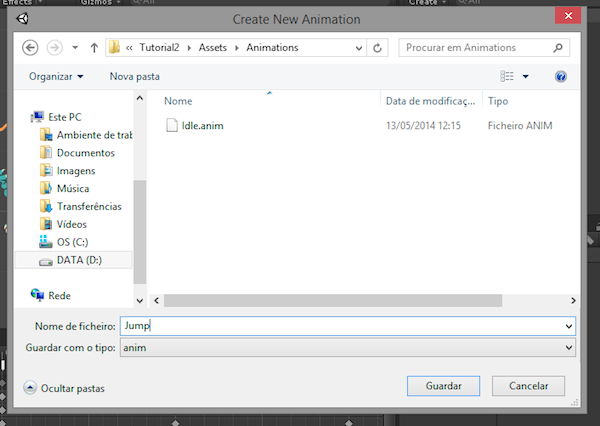
For this animation, you want to make your dragon look up while jumping. Since we've already cover the basics of creating animations using Unity, we'll just give you some hints rather than walking you through the process.
As you did before, you need to select the Dragon game object and start by adding curves. Let's start with the head; this animation will be a short one, so 0:30 seconds will do. Rotate the head on the Z-axis to look up.
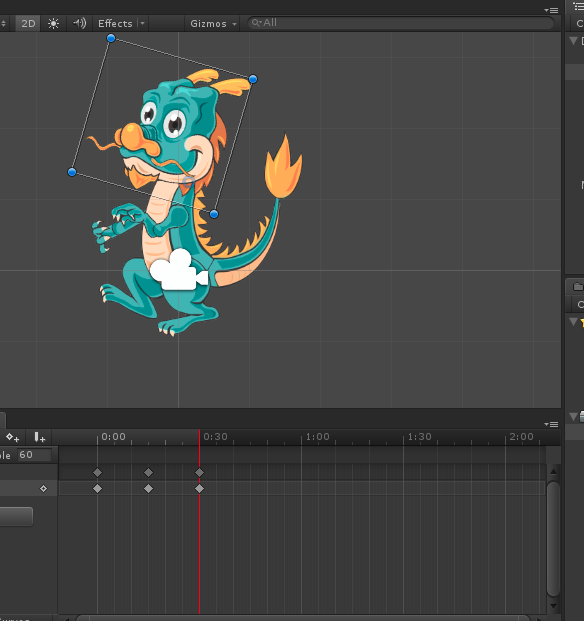
To prevent the head being completely static, you can add a little motion to it. You can achieve this by adding a little rotation.
Repeat the process for the remaining body parts. Keep in mind that the animation should look like the character is in mid-air.
We will teach you how to make the complete jump later on. For reference, try to get your character in poses similar to the following one:
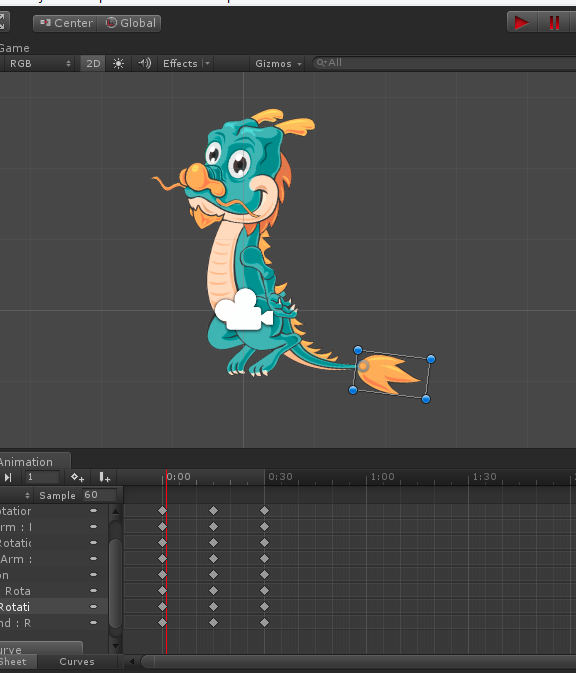
Have you done it? Nice!
Now, let's focus on the final animation: the fall animation.
The Fall Animation
Your character can now jump up, but two parts compose a full jump: the jump itself, where the character is lifted from the floor, and the fall, when the character moves back down again. Right now you are missing the second part of the jump, the Fall animation.
Just like before, in the Animation panel, click on the label with the current animation name and select Create New Clip.

Save the new animation in the Animations folder with the name Fall.anim.
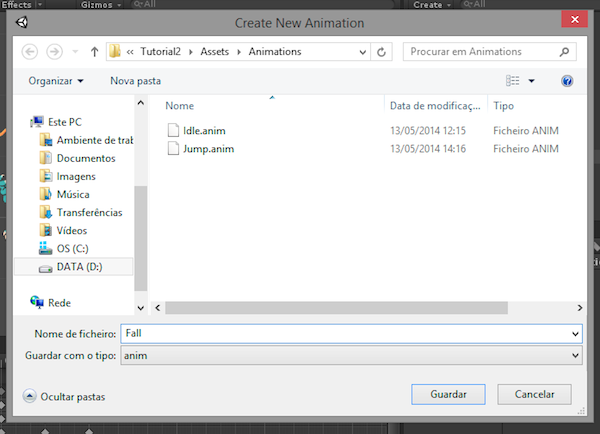
This time, you want the character to look down while falling. To do that, you need to press the Add Curve button and start posing the dragon. Just like the Jump animation, 30 seconds will work for this case.
Repeat the process of selecting the body parts and creating the respective key frames for the entire character (except for the black dot). Once again, you can add middle key frames just to make sure that the character is not static during the falling.
Next Time
This concludes the second tutorial explaining how to create a bone-based 2D animation with Unity. You have now learned the basics of animation and used key frames to create three types of animations. Next time, you will connect the different animations, blend them and call them by script.
If you have any questions or feedback on what we've covered so far, please leave a comment below.
References
- Dragon sprite sheet: used with permission from Chenguang from DragonBonesTeam
