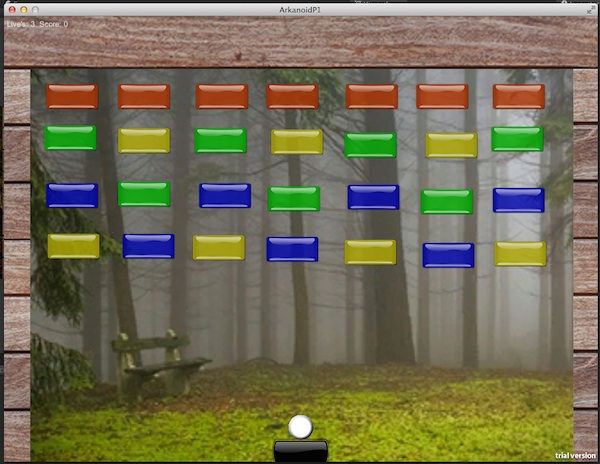
In this tutorial series, we'll show you how to recreate the classic Arkanoid (or Breakout) game in Unity, using Unity's native 2D tools. In each post, we'll focus on a specific part of the game; in this post, we'll set up the project and its assets.
Introduction
Who is This Tutorial For?
This tutorial is primarily aimed at two groups of people:
- People who are unfamiliar with Unity at all.
- People who are familiar with Unity, but not the Unity 2D engine and tools.
We assume that you have some programming skills, so we won't cover the code in depth.
In order to follow this tutorial, you need to download the Unity software.
The Core of This Tutorial
In this tutorial, we will focus completely on the new 2D toolset of Unity. The idea is to cover the toolset and provide enough knowledge so you can use Unity to create your own 2D games and apps, even if you've never used Unity before.
The main features introduced in the 2D toolset of Unity are:
- A new asset type,
Sprite, defined by a 2D texture, a rectangle, and a pivot point. - A new renderer component called
SpriteRenderer. - A new 2D mode view.
- The Box2D physics engine and a set of 2D physics components, rigid-body components, and several colliders.
- An atlas, or sprite atlas.
This tutorial covers all of these, except for the atlas.
Final Preview
Take a look at this demo to see what we're aiming for across the whole series:
And here's what we'll have at the end of this post:
Project Setup
Launch Unity and create a new project by selecting New Project... from the File menu. The Project Wizard will appear:
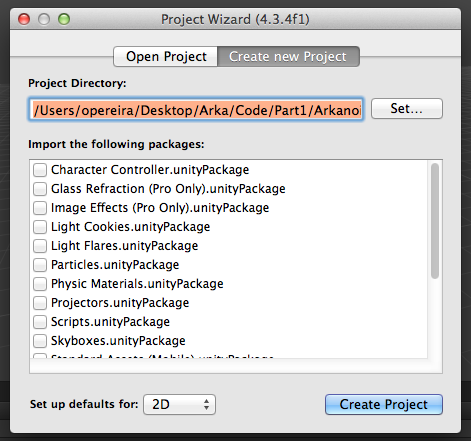
Define the project location (this can be wherever you like), choose 2D in the Set up defaults for box, and don't select any package template. (These package templates, as the name suggests, will automatically import and prepare your project with specific configurations and assets.)
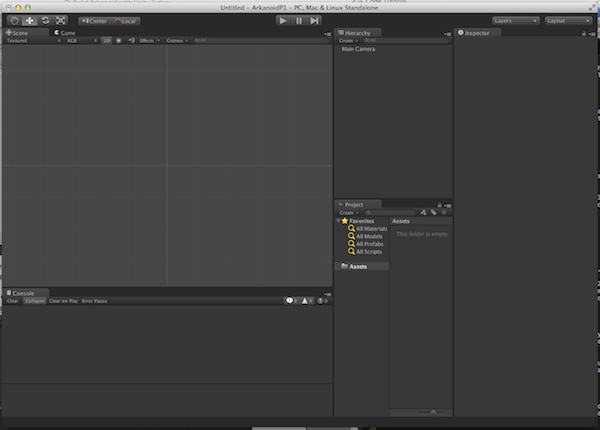
Click Create Project; the editor will open and you should be looking at something very similar to this:
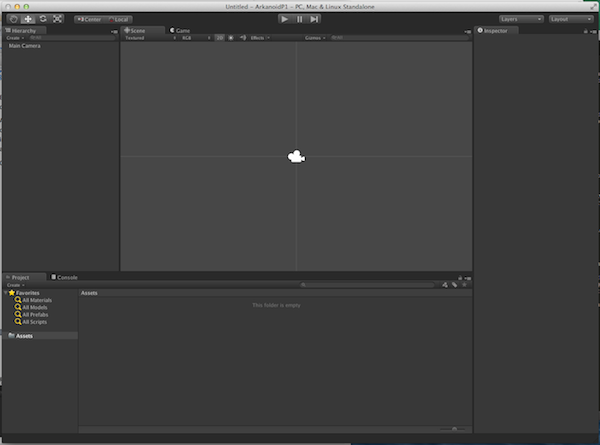
This is the default editor layout. You can work with any layout you are comfortable with, but the best practice is to adapt the layout to the type of project you are working on—this will help you improve your productivity. If you are a new user of Unity, we suggest following our layout configuration; if not, feel free to skip this section.
The Unity editor is composed of tabs, each tab having specific and particular information. The layouts modify the organization and placement of each tab. You will have tabs for console debugging, assets, the scene, inspectors, and others.
On the top right corner for the screen, you'll see a drop-down menu named Layout. Click this and choose the Tall option. Your editor will automatically adapt, and will look something like this:
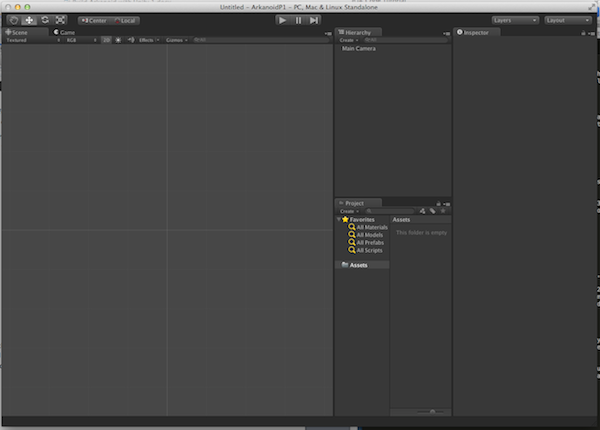
The main reason to define this layout is so we can have direct and easy access to our scene hierarchy, the project assets, the inspector, and the debugging console. The console is still missing, so add this by clicking Window > Console.
You will note that the console window is floating around. In order to dock it to the editor, drag it under the Scene tab:
Now that you have everything in place, you should save the new layout so you can use it in other projects or easily return to it in case you need to change the layout during the development of the game.
To save the current layout, click Layout > Save Layout. It will prompt you for a name; since you are defining a layout for 2D games, you could name it My2DLayout. Click Save and you have a new pre-defined layout to use.
If you want, you can cycle through all the layouts in order to see how different they can be.
Organizing the Project and Importing Assets
Now that you have the editor ready to work in, it's time to import and organize the assets. This step is again very important for productivity. The main project organization is available in the Project tab. At the moment, this is almost empty, since it only contains the Assets folder.
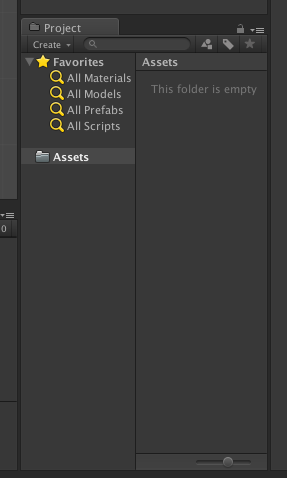
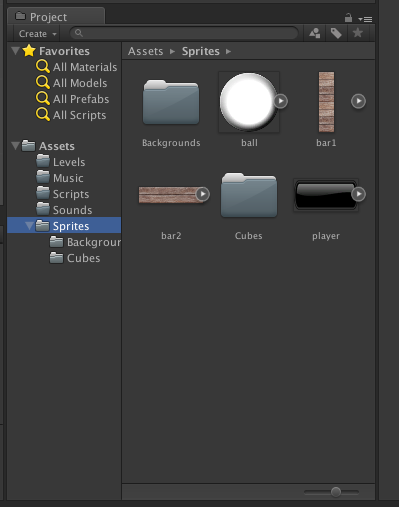
Although this step is not strictly necessary, we strongly advise you to organize the assets in an intuitive way, especially if you are working with large projects. Start by creating the folders with the following names (right-click Assets and select Create > Folder):
SpritesScriptsSoundsMusicLevels
Now that you have the project folder organized, it's time to import the game assets. You can find them in the tutorial_assets folder of this tutorial's GitHub repo. (You can just click Download ZIP on the latter page if you're not familiar with GitHub.) Note that this folder includes assets for the whole tutorial series, so there are some that you won't use until later on.
To import you only need to drag the asset folder into the Unity editor under the folder you want to add that specific asset. So, go to the resource file you just download, select the content of the Sprites folder and drag it into the Sprites folder in Unity. The editor will then load the files. Repeat the process for the Music and Sounds folders; once you've finished, you should have something like this:
Preparing the Scene For the First Level
Now that we've set up our Unity layout, organized the project, and put all assets in place, it's time to start building our first level.
Unity works with scenes. Scenes can be used to contain game objects, menus, levels, or any other game object. An intuitive way to understand the scene concept is to see each scene as an individual level where you will place the resources, create the environment, enemies, and so on. With this in mind, let's create your first scene.
By default, when you create a new project, Unity automatically generates a new scene. In this case, you'll have a scene with only one object, our Main Camera. You can check the objects you have in your scene under the Hierarchy tab.
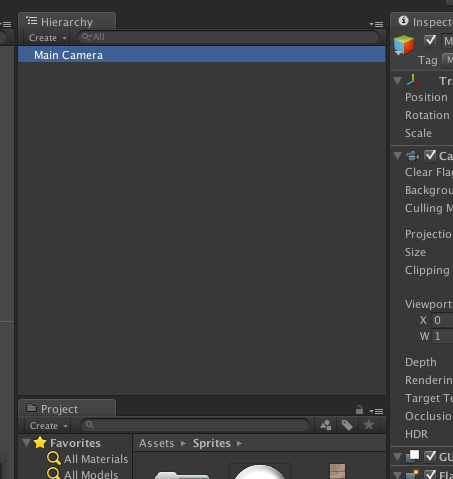
You can also use this scene hierarchy to organize the game objects on your scene. Note that, when you select a game object from the scene, you can change its properties via the Inspector.
Add a Sprite for the level background as your first object: in the Hierarchy tab, click Create > Sprite. Now change its name to Background (tap Enter or do this through the first field of the Inspector tab).
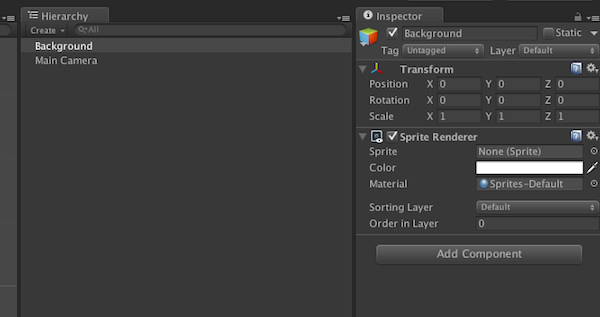
You will note that the Sprite field under the Sprite Renderer component is empty. This means that no sprite was assigned to this object. Let's change it: drag the background1.png asset from the Background folder to this field. The texture will then show up on the scene.
If you now switch to the Game tab, you will be able to preview your scene just like it will show up in the final game. You can also change the resolution under this tab. In this tutorial, we've used the option Standalone (1024x768) as the default resolution (except for the embedded demos, which are smaller).
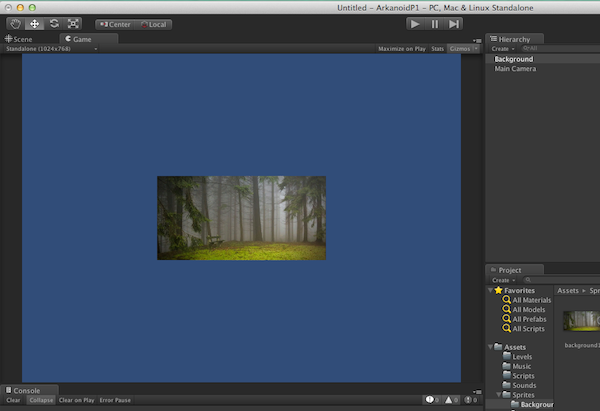
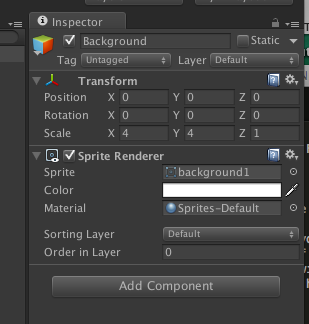
As you can see, your background is surrounded by blue. This is because the image does not cover the entire screen, so you will have to scale it. In the Inspector, change the Scale of your background to 4 on both the X and Y-axis. This will make the background cover the entire game area. Also, make sure that Order in Layer is set to 0: when working with sprites, Unity uses layers to draw them, meaning that lower numbers are drawn first (and will appear in the back), and higher numbers will be drawn later (and will appear in the front). Since this sprite is the background, you want it to be at position 0, the first one to be drawn.
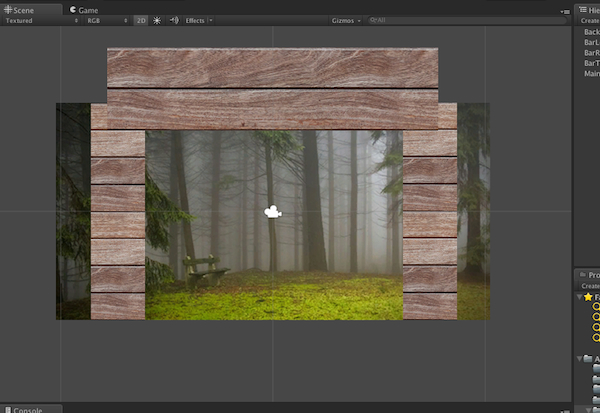
The next step is to create the game boundaries; we'll add three Sprites (Top, Left and Right) that will be the walls of the game. Add the three Sprites, using the same process as before, and use the bar1.png and bar2.png assets for their images. To adjust the bar positions and sizes, change to the Scene tab and play with the bars individually. Don't forget to change the Order in Layer to 1 for each bar.
At the end you should have something like this:
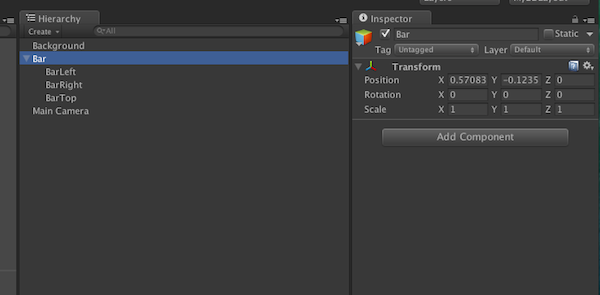
The bars are going to be stationary objects, and they will all behave the same way, so we'll group then inside a single game object. To do this, first create a new empty game object by clicking Game Object > Create Empty on the top menu bar.
The editor has created a new empty game object on our scene. Now, drag the three bars objects in the Hierarchy tab and drop them on the newly-created empty game object. The bar objects will then became sub-objects of the new object. Rename the new object to Bars so that we'll remember what's in it.
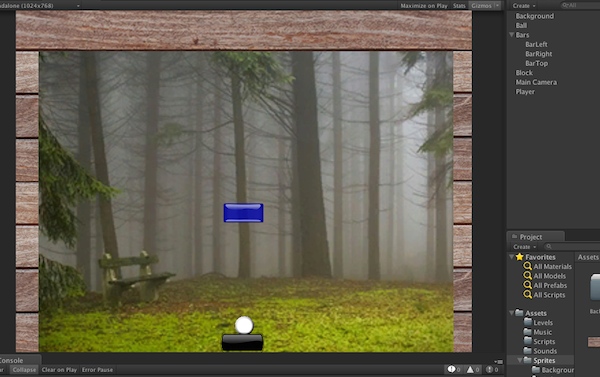
The only remaining objects are the ball, the player's paddle, and the blocks. For now, we'll add one of each kind. Again, add a Sprite for each object and set the Order in Layer to 1.
You should now have something similar to this:
We will now save our scene as the first level. Select File > Save Scene as..., name it Level1, and store it in the folder Levels.
Next Time
This concludes the first part of this series. You now have a Unity project, all the necessary assets, and the architecture of the first level. Next time, we'll get the paddle and the ball moving.
If you have any questions or feedback on what we've covered so far, feel free to leave a comment below.
